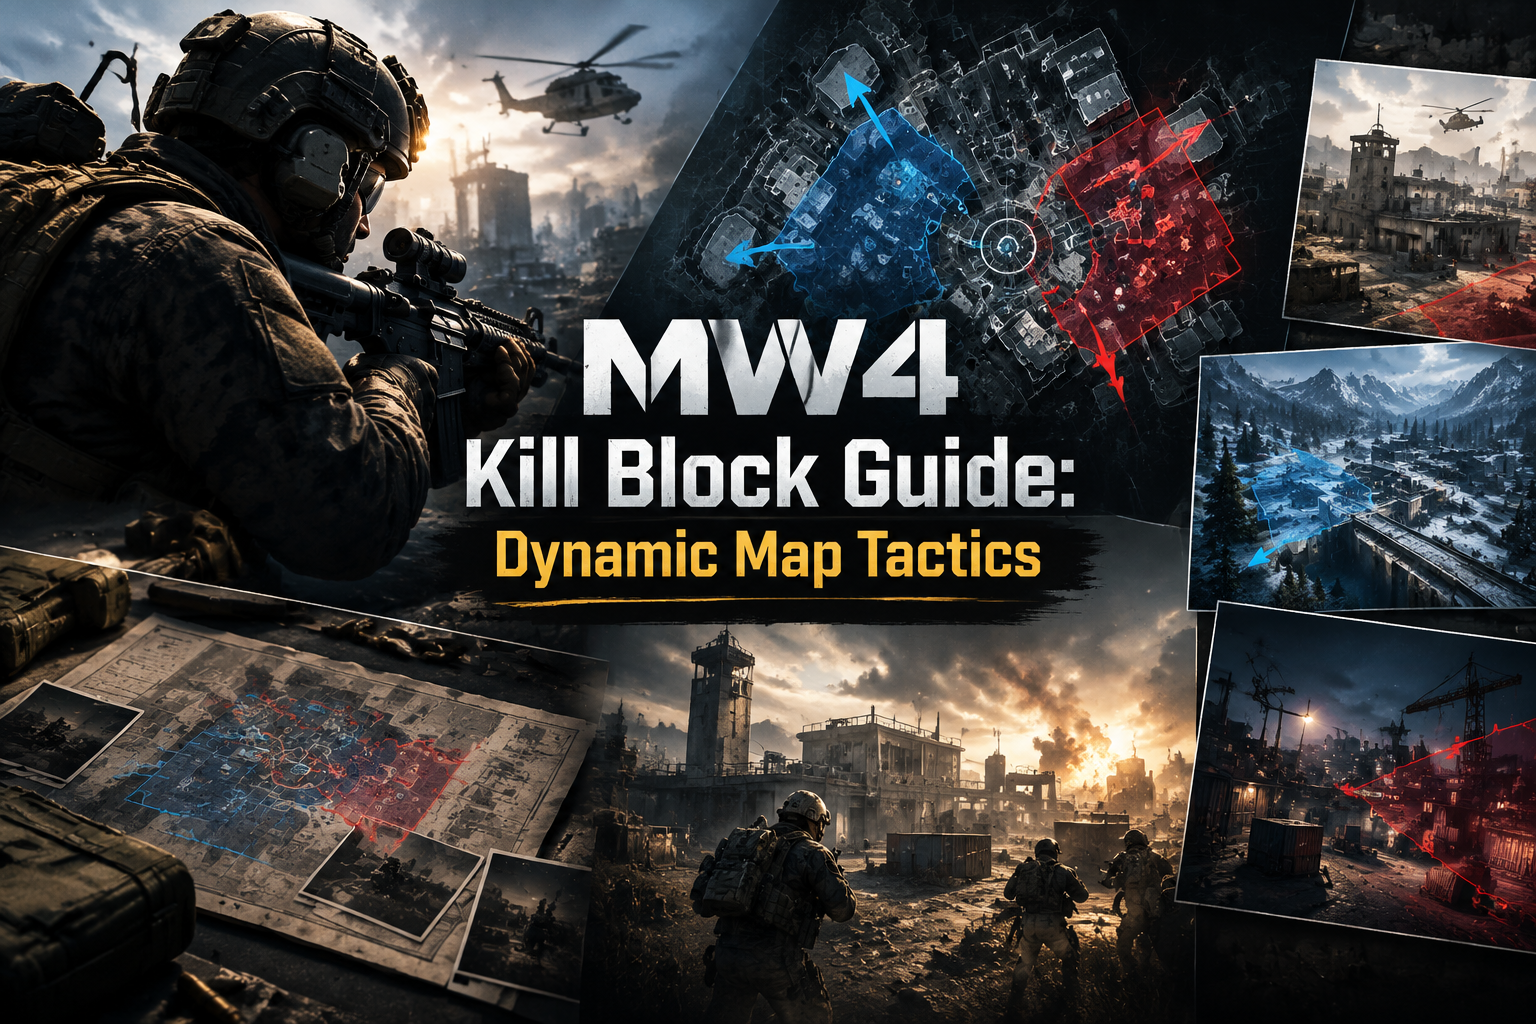
Kill Block is the dynamic multiplayer map in Modern Warfare 4. Set inside the West Bridge Advanced Military Training Facility, it uses three modular Slabs—two End Slabs and one Central Slab—that combine into a temporary Combo. This system creates more than 500 possible configurations at launch. Each arrangement changes routes, cover, sightlines, and engagement ranges, so players must adapt instead of relying on a single memorized layout.
In the beta and at launch, Kill Block supports Gunfight in both 3v3 and the new 10v10 format. The Combo changes after every two rounds. Teams switch sides and receive a shared randomized Loadout. This short window lets players study the current layout and adjust before the next configuration appears.
Read the Combo Before the First Fight
Use the opening seconds to identify the key elements of the current Combo.
Check the Central Slab first. Then locate the fastest routes between the two End Slabs. Note long sightlines and protected positions that control the main lanes.
A familiar section can play completely differently depending on the connected Slabs. The real question is how the current pieces link together, not which individual section you recognize.
Find the Strong Lane
The first round is ideal for spotting which lane gives the opposing team the easiest advantage.
Watch enemy movement from spawn and note where the first engagement occurs. If one route offers quick access to central cover or a strong angle, expect them to reuse it.
Deny that route rather than simply copying it. One player can hold the main angle while another watches the connecting path. This forces the enemy to challenge the position or take a weaker rotation. In limited-life Gunfight, controlling one key connection often matters more than chasing individual kills.
Use the Side Swap
Teams switch sides before the second round of the same Combo. This is the chance to test the layout from both directions.
If the enemy held a strong position in Round One, examine how that same spot can be attacked from the opposite spawn. Focus on:
- Who reaches cover first
- Where the opening shots come from
- Which route allows the fastest rotation
- Which positions become exposed after the side swap
A strong hold from one side is not automatically strong from the other. Use Round Two to exploit the information gained in Round One.
Match Your Position to the Loadout
Kill Block uses shared randomized Loadouts. Players cannot always rely on preferred weapons, so the current kit should shape route selection.
Long-range weapons pair best with open sightlines and controlled angles. Close-range weapons perform better when players can close distance through tight routes and cover.
Do not force the same playstyle every round. Long-range Loadout means control distance. Close-range Loadout means control corners and entry points. The shared Loadout also keeps the fight even because both teams start with the same tools.
3v3 Gunfight Tactics
3v3 is unforgiving—every elimination removes a large part of the team’s fighting power.
Avoid sending all three players down the same route. A stronger setup is two players pressuring the main lane while the third watches a secondary connection and rotates once the enemy position is confirmed.
Trading kills matters. When one teammate challenges an enemy, a second player should be close enough to punish the opponent after the first engagement. Solo flanks can work, but only with a clear purpose. A long rotation that leaves the team in a 2v3 is usually more costly than helpful.
10v10 Requires Section Control
The larger 10v10 format changes the value of individual lanes.
With more players in the same modular space, aggressive flanks often run into multiple defenders. Focus on controlling sections and the connections between them rather than constantly pushing toward enemy positions.
Watch where the opposing team concentrates. If several players hold one side, another route may open. If your team holds the center, protect the approaches into it instead of overextending. The goal is useful map control while keeping enough players free to react to rotations.
Overtime Flag Strategy
If the round hits the time limit without a full elimination, the Overtime Flag becomes the final objective.
The timer should influence decisions before the flag appears. With a player advantage, avoid unnecessary fights and prepare for the objective. If you are down players, waiting too long can leave insufficient time to contest it.
Reach the objective with a useful position rather than simply arriving first. Use nearby cover and surrounding lanes to deny safe approaches for the opposing team.
Equipment and Opening Engagements
Tactical and Lethal Equipment can break defensive holds, but using it without information often wastes the advantage.
First identify the enemy’s likely route. Then use equipment to deny that path, clear cover, or force an opponent into an exposed angle. This is especially effective when the current Combo contains a narrow connection between two Slabs. Equipment should support map control, not replace gun skill.
For players researching Bot Lobbies MW4, Kill Block should be treated differently from conventional fixed maps. Its changing structure makes map awareness and quick adaptation central to winning Gunfight rounds.
How to Adapt When the Map Changes
The biggest mistake on Kill Block is carrying the previous Combo’s strategy into a new one.
When the map resets, restart the process:
Read the Slabs → identify the main connection → check the Loadout → locate the strongest cover → test the opening lane → adjust after Round One.
You do not need to memorize hundreds of layouts. Learn to recognize the important features of each configuration—central control points, connecting routes, and cover that matters in the current arrangement.
CoD MW4 Redeem Codes is separate from the actual gameplay mechanics of Kill Block. Players who want to perform better on this map still need to understand the current Combo, weapon range, enemy routes, and objective timing.
Kill Block rewards those who process changes quickly. Learn the layout in front of you, control the important connection, adapt to the shared Loadout, and use the first round to prepare for the next.